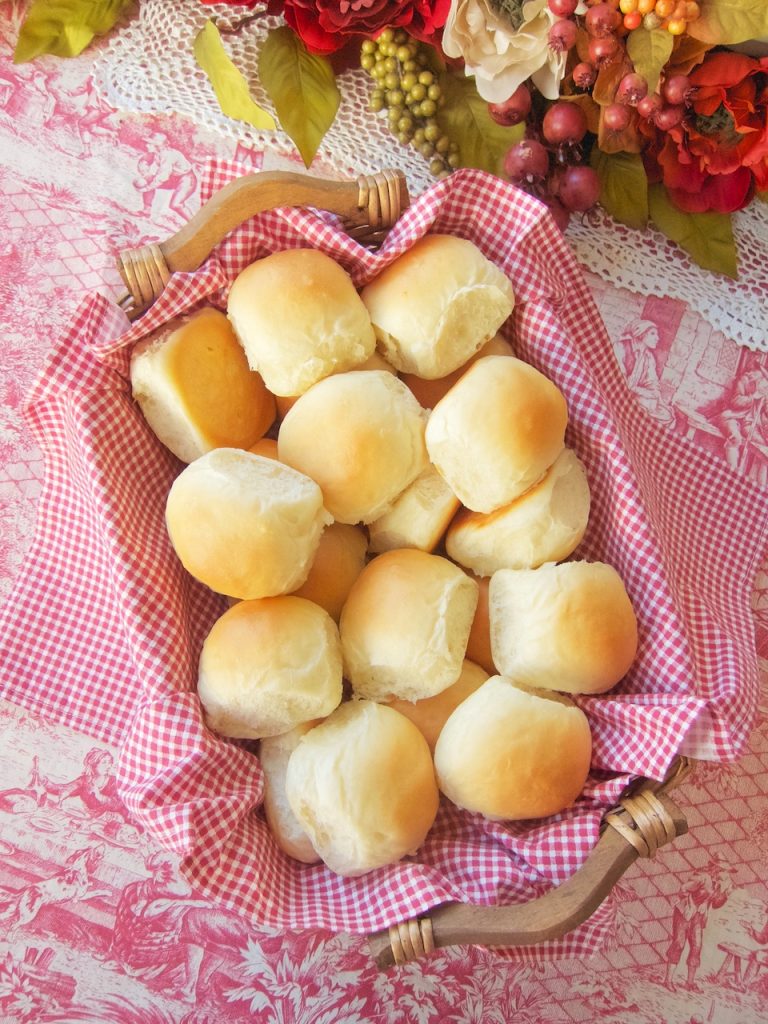
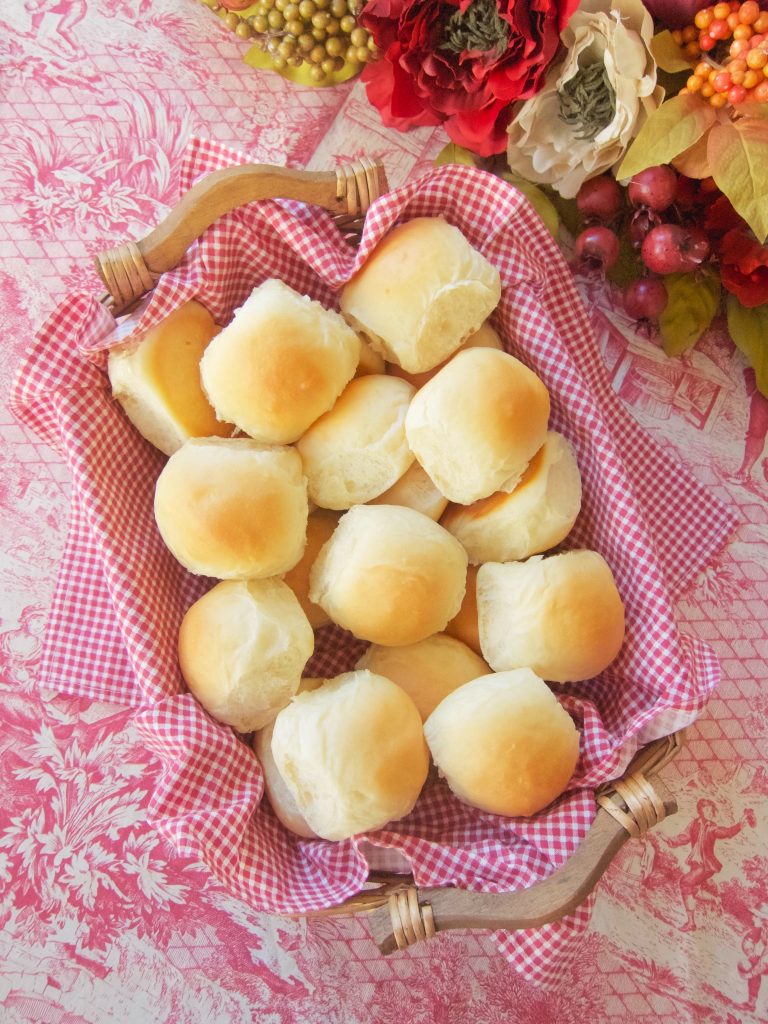
Soft Dinner Rolls
As I’m taking you through my journey of learning how to bake properly inspired by Great British Baking Show, and Paul Hollywood’s City Bakes, Lemon Muffins With Blueberries lead the project, followed by Focaccia Bread, then I did English Scones With Clotted Cream and after those came Apple Cider Donuts, and now these soft dinner rolls are my 5th British baking inspired recipe.
In my search for some nice dinner rolls for the holidays and ran across alicesbakingaddition.com’s Soft Dinner Rolls Recipe where she listed a weight for the flour in addition to the cup measurement, which is what I’m looking for as part of what the show had taught me was very important for baking properly. Having the weight meant I should be able to duplicate her results. And the rolls in her pictures looked just like what I wanted.
There was the option of doing the entire kneading in the mixer, but I’d learned that bread could be over kneaded and end up tough using a machine and if you did it by hand, you couldn’t over knead it. Since Paul Hollywood was my new standard of excellence, when I heard this, I knew that I wanted to do the initial mixing of breads in the mixer to avoid some of the sticky mess but then do the actual kneading by hand.
From the two shows I found out that there are all different kinds of bread doughs each with their unique nuances. In my very short bread baking experience so far, I’ve run across the problem of not knowing what a particular dough is supposed to be like once all the ingredients are added and the mixer has brought them altogether in a homogeneous dough, past some of the rough dough stage. They are always sticky when you pour them out onto the lightly floured work surface, but often when you knead them, the stickiness goes away without having to add more flour. With others, you need to more heavily flour the surface and sprinkle with more as you are kneading which means you will be adding an unknown amount of more flour to the recipe. This part of the process was edited out of the video and it’s not mentioned in the recipe and this is probably because most of the time you do add more flour as you are kneading bread and it was just understood that that is what you need to do. When I transferred the dough to the lightly floured surface, I assumed the stickiness would go away and being new I didn’t know how much stickiness was too much and wouldn’t go away. I decided to go with not sprinkling more flour on the surface and on the dough and seeing if the stickiness would go away after kneading it for awhile.
It turned out to be too wet a dough. But I was okay with this because a wetter dough means a more tender roll like a brioche or monkey bread. And since I’d run into this before the past few weeks and I had come up with another way to knead wetter doughs. I do the kneading in the air above the surface where it can’t stick to anything but my fingers. I take the ball of dough and fold it over itself and making a ball and tucking the dough underneath, and keep repeating doing this, and as I’m doing it the dough is being stretched and kneaded both at the same time like what happened when you are doing on a surface. The motions are not unlike when you are forming the little balls for the second rising pulling the dough down and tucking it underneath. I was used to doing this from making monkey bread which is a very wet dough. For some types of bread with wetter doughs you never transfer the dough to a surface. Doing the focaccia research I’d see videos where people leave the dough in the bowl and take a large spoon or spatula and as they turned the bowl, they brought the dough up over itself which is stretching it and they did this over and over until the dough was smoother. This is a way of kneading wetter doughs when that is the way the dough is supposed to be and focaccia is a wetter dough but also a dough where you can use oil instead of flour to be able to knead in on a surface.
The results of not adding any more flour and using a wet dough method for the stretching and kneading were the beautiful, light, tender and delicious dinner rolls I was hoping for.
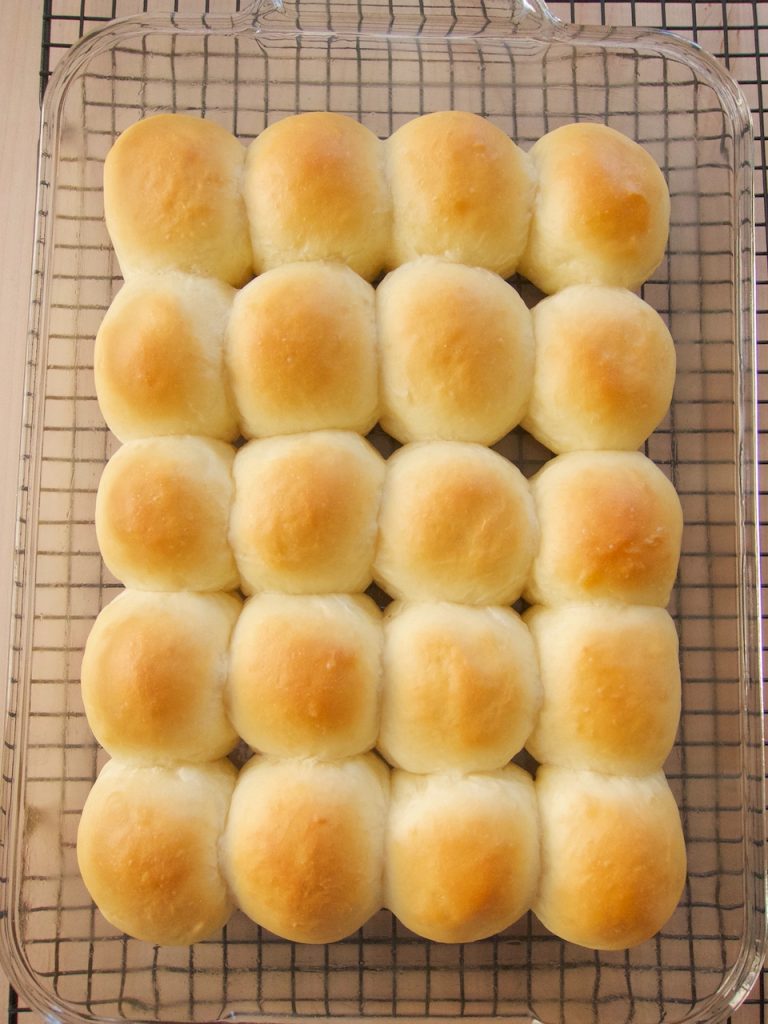
The test that Paul Hollywood does to see if a dough has been risen properly was also something I wanted to understand so my breads would be right. I experienced the difference when I had a roll somewhere else after I had made these rolls. They looked fine on the outside, but not inside. When you slice the roll through the middle and press down on the lower piece, it should bounce right back up. If it stays down, the rolls weren’t raised right and when you start to chew them they instantly become a piece of dough in your mouth that tastes raw. The second rise is critical. When you do it right the dough should be only double, still just balls and not looking like rolls yet. Then when you put them in the oven, they will begin puffing way up and looking like rolls and they get golden brown on the bottom and top.
Soft Dinner Rolls
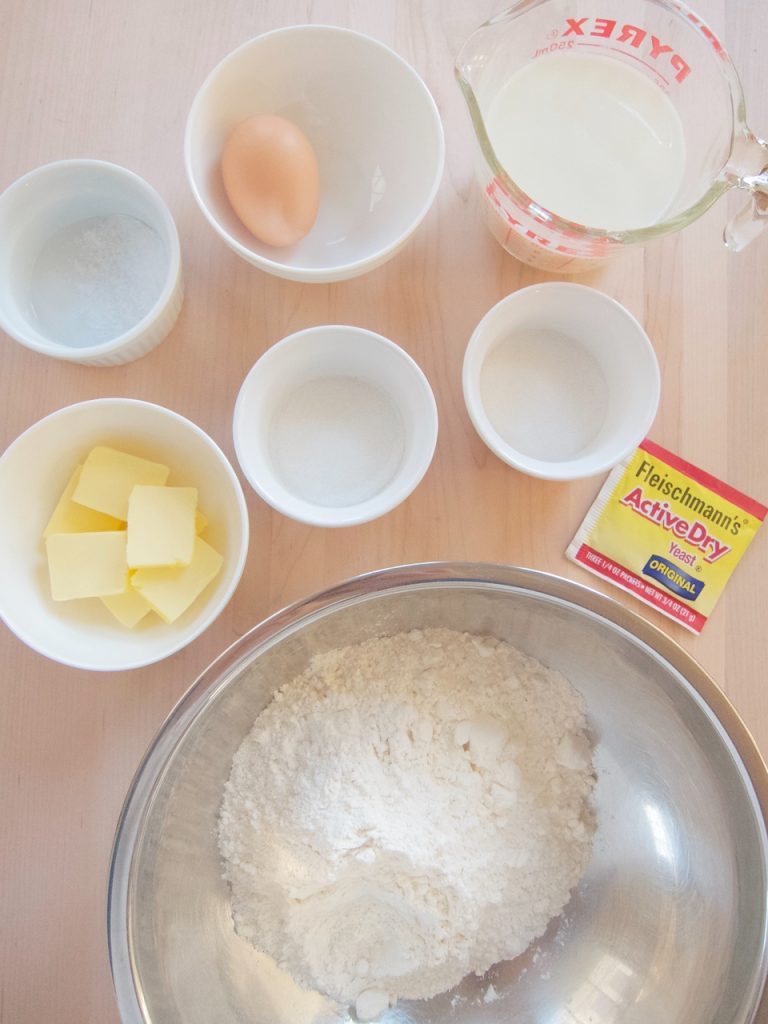
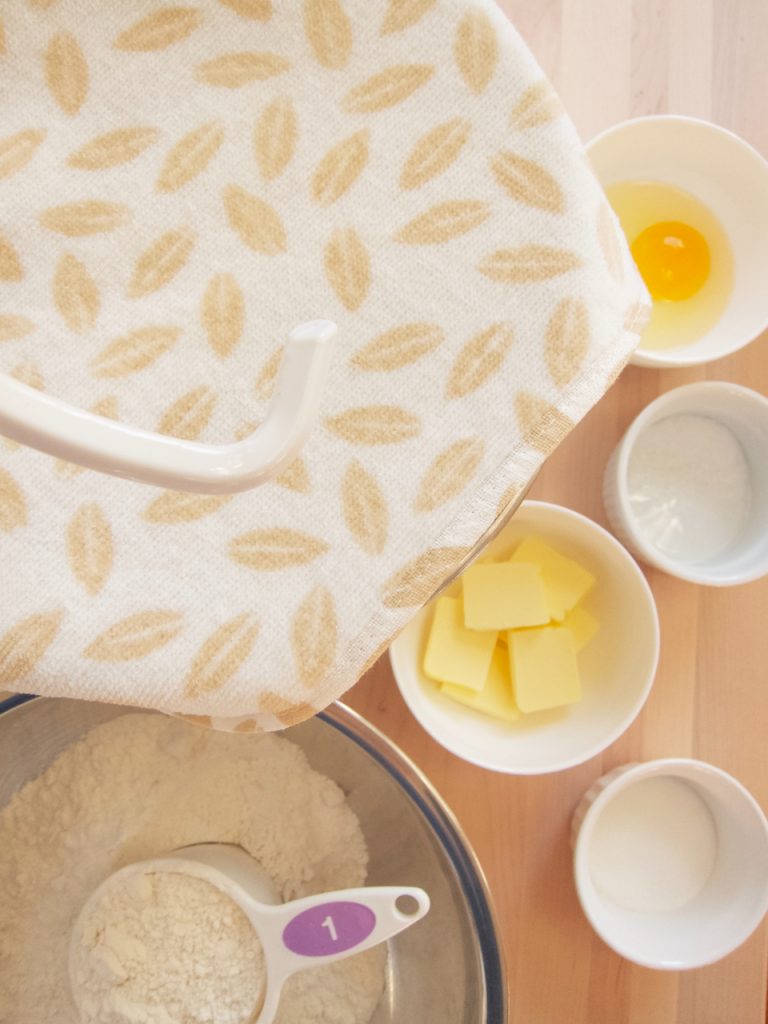
Ingredients
- 1 cup whole milk
- 1 package dry yeast
- 2 tablespoons sugar, divided
- 1 teaspoon salt
- 1/4 cup unsalted butter, softened
- 1 large egg
- 375 gr (about 3 cups) all-purpose flour or bread flour (I used bread flour)
Instructions
(Note: There are a lot of recipes for dinner rolls, and other breads, where you have the mixer do the combining, or mix everything together by hand with a spoon, and then skip the kneading part and just cover the dough and let it rise. According to the rules, it would mean it would need a longer first rise to build up the gluten or the bread would collapse and be more dense because it wouldn’t be able to hold the tiny pockets gas [carbon dioxide] created by the yeast. For white flour rolls, this is not an issue. They may not rise quite as much but it will probably be only the bread experts like Paul Hollywood who would know you skipped that step.)
You can make this in a standing mixer with a dough hook attachment, or do it all, or partially, by hand, whatever works best for you. These instructions will be for partially in the mixer and partially by hand.
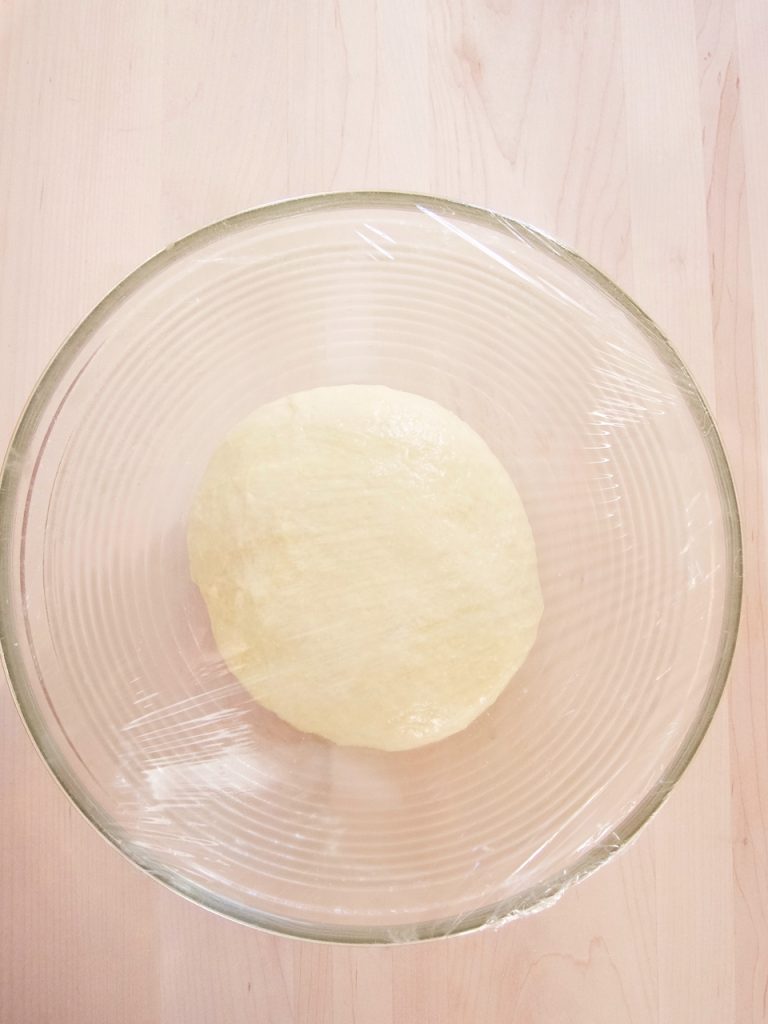
Heat the milk to 110° and pour into mixing bowl along with 1 tablespoon of the sugar and sprinkle the yeast over the top. Whisk briefly, cover and let proof 5 minutes. Add the other tablespoon of sugar, softened butter, egg and 1 cup of the flour and briefly mix then scrape down the sides with a rubber spatula. Add the remaining flour and mix on slow for about 1 1/2 – 2 minutes until the dough is all together.
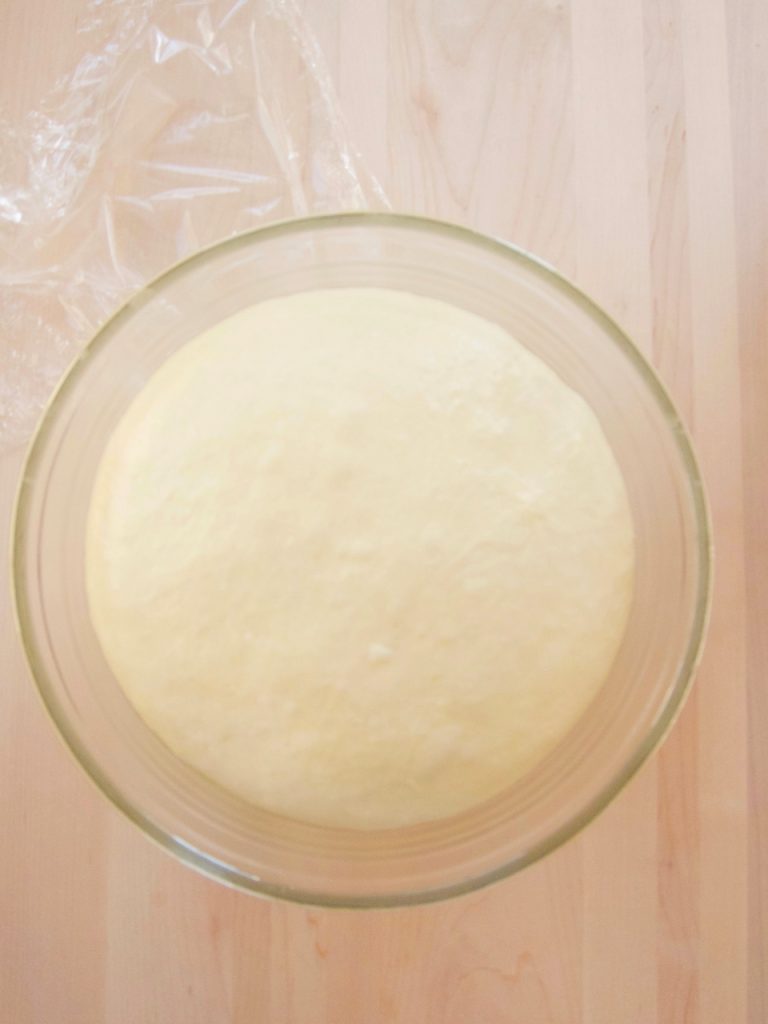
Have the bowl for letting the dough rise ready with the oil in it. Scrape down the sides again and remove the dough to a very lightly floured surface. In her video for her Soft Dinner Rolls Recipe, Sally was able to knead her dough for 10 minutes on the surface and it didn’t show her adding more flour. Since I liked the idea of the dough being more wet because the rolls would be more tender, I didn’t want to add more flour. I also had a solution if the dough continued being too sticky while I was kneading it on the surface, which it did. When this happens I knead/stretch the dough in the air, folding it over itself and tucking the dough underneath, rather than on a surface and that way it’s only sticking to my fingers. After ten minutes of the ‘air kneading’, I set the dough back down on the surface, wash my hands, oil my hands from the oil in the rising bowl, then shaped the dough into a nice round ball and put it in the bowl, turning it until it’s covered with oil.
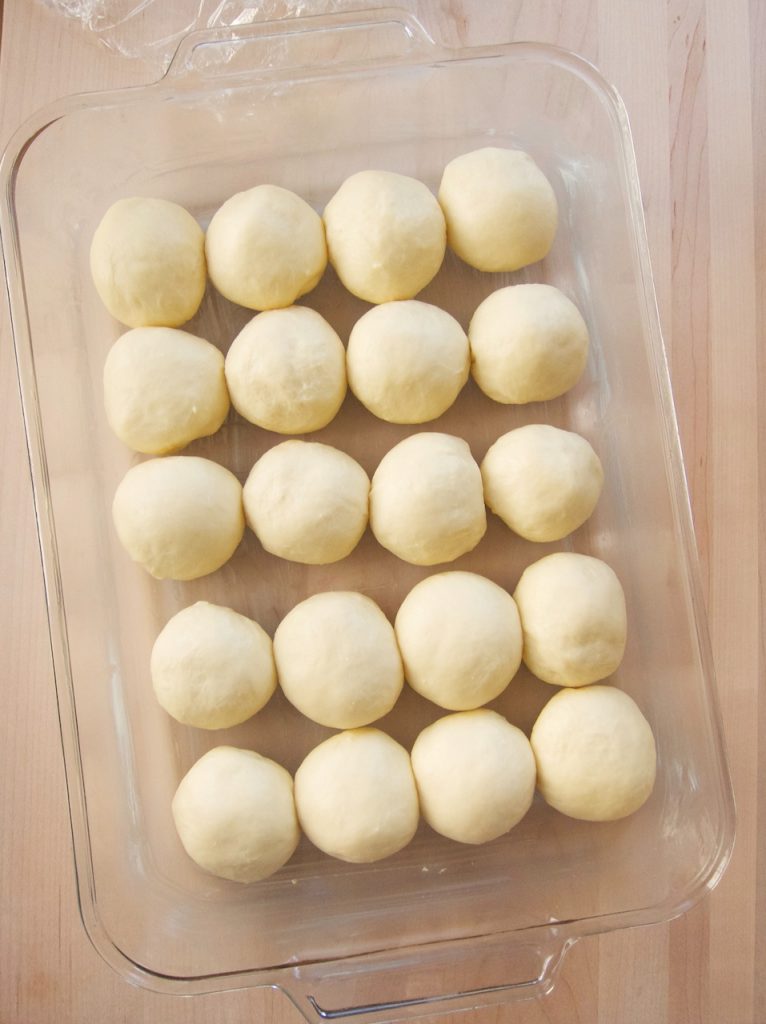
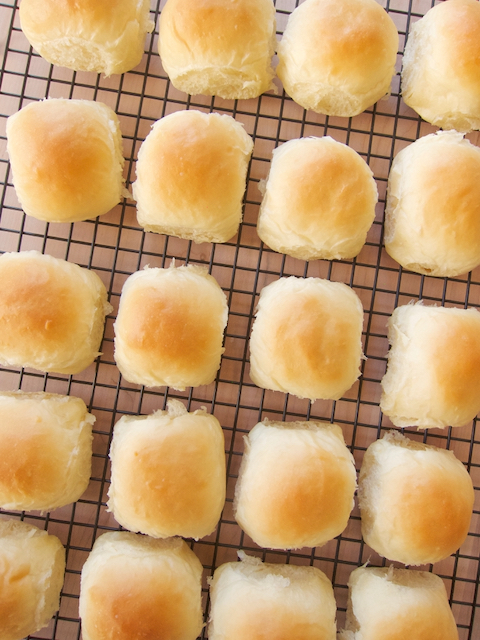
Cover the bowl with plastic wrap and let rise 1 1/2 or until double in bulk. Punch down, let rest 5 minutes, then form your rolls and place them in a glass casserole, either 15 rolls in a 9″ by 12″, or you can do 20 smaller rolls in a 3 qt, 10″ by 14″ glass casserole. Cover them with plastic wrap and lay a towel over them and let them rise again for 45 minutes or until double in bulk. Bake them in a 350 degree oven for 18 to 25 minutes depending on the size you have made them and how not your oven cooks. Turn the pan half way through the cooking so the rolls brown evenly. Cool a few minutes in the pan, then remove to a baking rack.
These will keep at room temperature for 2 – 3 days and in the refrigerator for a week and they can be frozen on a tray and but in bags and kept frozen for 3 months. Remove from freeze and let come to room temperature (about 5 hours).
See Sally’s recipe for overnight instructions for the first rise and her other notes.

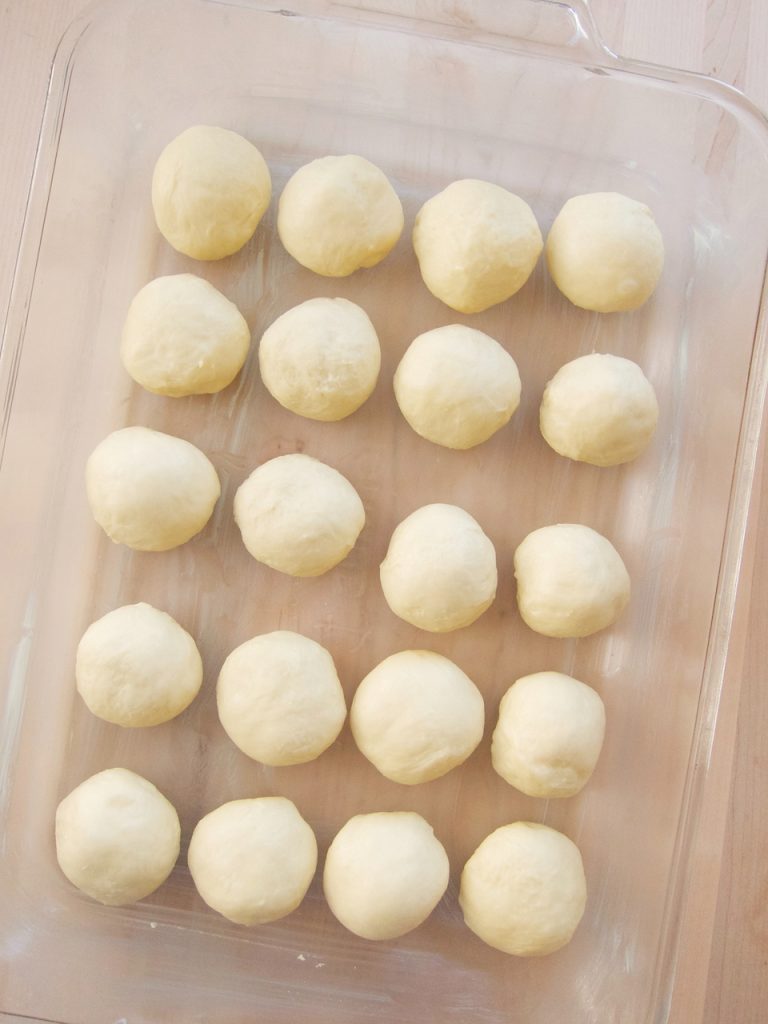
When you do the second rise, it’s critical not to let them get any bigger than double. They should still look like balls that are now getting closer together, then when they go in the oven, they will puff up and look like rolls. If they are looking like rolls when they are rising, they have been over risen and after baking them, they may look fine but when you slice them open and press down on the bottom piece, it won’t bounce back. It will be doughy and taste doughy and they won’t keep well. Done properly, these rolls are just as good the second and third days.