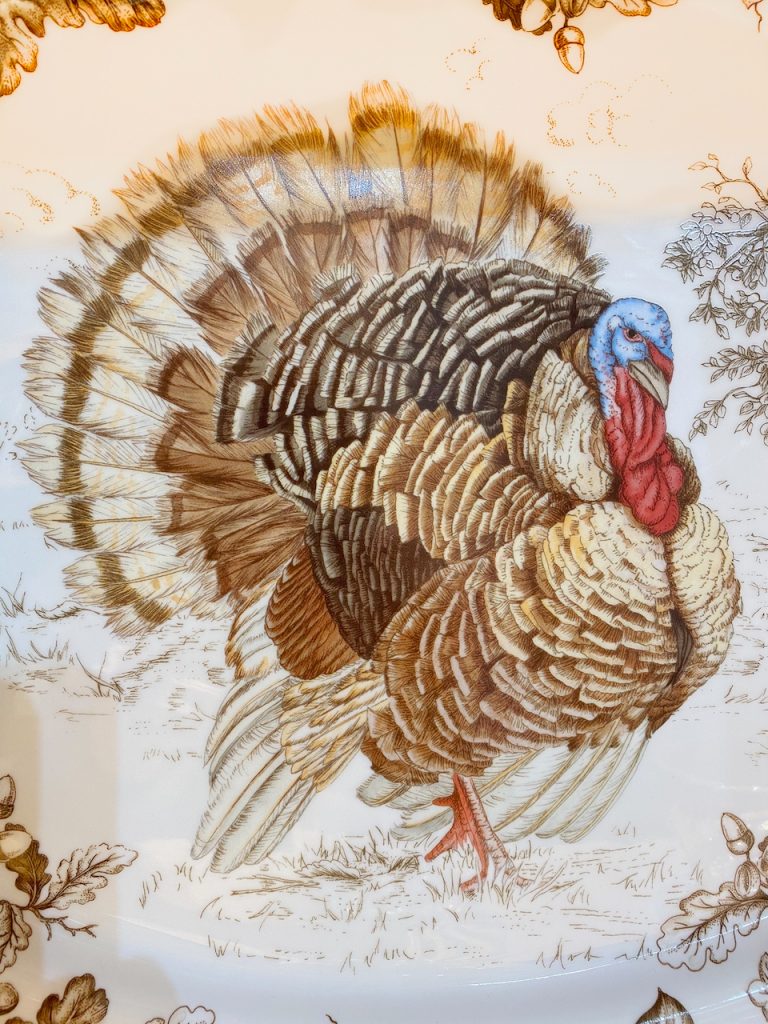
Holiday Roast Turkey and All the Trimmings
Brining your turkey, loosening the skin and filling the spaces with homemade herbed butter, and rubbing the whole outside of the turkey with more herbed butter, and cutting up vegetables to put under the turkey for the juices — all make you feel like you are doing your turkey up right. If you want the added tenderness from brining, and the added flavor of herbs, and the mire poix flavoring to your gravy, you don’t mind taking the extra time to do these extra things. But as the say goes, “you can’t make a good omelet out of bad eggs.” So for a delicious turkey, it needs to be a quality bird cooked to exactly 165 degrees internally. The latter two things are the basics and the rest is the frill for the ‘foodie’ cooks we’ve become.
To cook a turkey perfectly, if you have a probe in your oven, use it even if your turkey has a pop up. If you don’t, you can buy a device with a read out that sits on your counter attached to probes in the turkey in the oven. Like an oven probe, these probe devices have an alarm that goes off at 165 degrees and if you look for them you can find one that even syncs to your apple watch so you can be off busy doing something else. Using a probe, you are sure to get the turkey out at just the right moment. And doing it this way you aren’t opening the oven up and releasing the heat and slowing the cooking time, possibly burning yourself and poking extra holes in the turkey. Turkey’s with butter all over them don’t need to be basted so there’s no opening the door for that reason either.
For the second basic, to get a good turkey, pass by the ones in the bins, where’s it’s like picking out a watermelon wishing you could see and taste the hidden inside, and talk to a butcher about the best options. I did this at Whole Foods this year and he went to the chilled room and brought back a turkey in clear wrap without fancy name or description on it. I was able to see that the turkey was unblemished and fresh looking, and the price was a little less than the ones in the bins. It turned out to be a really good turkey, just like he told me it would be.
The brining recipe below was adapted from afamilyfeast.com

Cranberry Sauce or Cranberry Pear Apple Chutney
Scalloped Yams With Maple Orange Sauce
Holiday Roast Turkey
Brine
For a 20 lb turkey (adjust for smaller turkeys):
Ingredients
- 2 carrots, scrubbed and cut in 3 to 4″ pieces
- 2 celery stalks, cut in 3 to 4″pieces
- 1 medium onion, cut in quarters
- 1 quart plus a cup of water
- 1 cup kosher salt or 3/4 cup table salt
- 6 sage leaves
- 2 large sprigs of thyme
- 1 large sprig of rosemary
- 2 bay leaves
- 3 garlic cloves, smashed
- peel of one orange
- 1 large apple, sliced
- 1 tablespoon peppercorns
- 1 teaspoon whole allspice
- 1 teaspoon juniper berries (Frontier Coop at Whole Foods)
- 1 gallon of water
Instructions
Make a vegetable broth by boiling the carrots, celery and onion for 30 minutes, strain. Place all ingredients including the vegetable broth in a large pot. Bring to boil and boil for 3 minutes. Cool.
Remove the neck and gizzards from the turkey and clean it inside and out and dry it with paper towels. Put the turkey in a Reynold’s turkey bag and place it in a bucket. Add cool brine plus another gallon of water. Place in the fridge. (Because of the weight, to make it easier I like to put the bucket with the turkey in the fridge before adding the liquid.) Brine for 12 hours. Remove the turkey from the brine and rinse and dry it. Loosen the skin over the breasts and thighs. Set the turkey in a pan in the refrigerator uncovered several hours or overnight so the skin dries. This is so the herbed butter can stick well and the turkey will have a beautiful golden skin.
If the turkey came with a neck, add it to the bottom of the roasting pan with vegetables to flavor the juices.

Herbed Butter
Ingredients
- 1 cup butter, softened
- 2 tablespoons chopped fresh rosemary
- 2 tablespoons chopped fresh sage
- 3 garlic cloves, peeled and minced
- 1 teaspoon salt
Instructions
Place all the ingredients on a plate and mix with a fork. Put on plastic wrap and mold into a log. Chill.
You will be slicing the log and slipping the pieces of herbed butter under the loosened skin of the turkey and using part of it to cover the outside of the turkey.
Flavoring for Pan Juices
Ingredients
- 2 carrots, cut in half and in half again, then cut in 4″ pieces
- 2 celery ribs, cut in half, then in 4″ pieces
- 1 large onion, skin on, washed, left whole
- 4 garlic cloves, skin on
- a small handful of fresh thyme tied with twine
Instructions
Place in a large baggie. Have this ready the night before. In the morning, cut the garlic in half and the onion into wedges.
Cooking the Turkey
Ingredients
- 1 – 2 onions, skin on, cut in half
- 6 garlic cloves, skin on, cut in half
Instructions
The day you are cooking the turkey, remove the turkey from the refrigerator. Place the bag of vegetables and thyme in the roasting pan. Place the turkey on top of the vegetables. Cut 3/4 cup of the herbed butter into slices and allow the remaining 1/4 cup to come to room temperature so it can be spread over the outside of the turkey or if you may prefer to melt it and spread it on with a pastry brush (especially if you live in a cold climate where the butter doesn’t soften enough). Put the slices under the skin. Put peeled onions halves and garlic cloves in the cavity of the turkey. Add 2 cups of water to the pan.
Preheat the oven to 450 degrees. Place the probes in the turkey and set it in the oven. You may need help because of the probe wires to the unit on the sink. Roast the turkey 30 minutes, cover loosely with foil, turn the temperature down to 350 degrees. Cooking time is approximately 17 minutes per pound. As soon as the timer on the unit alerts you that the internal temperature has reached 165 degrees, remove the turkey from the oven, keep it loosely covered, and let it rest for an hour.
Gravy 1
Ingredients
- 3 – 4cups juices from turkey (if the juices condense too much while the turkey is cooking, reconstitute with water)
- 1/3 cup flour
- a pinch of pepper
- salt if needed
- water (if your gravy tastes strong and bitter, add some water)
Instructions
While the turkey is resting you will be removing juices for the gravy with a turkey baster. It’s helpful to have a
fat separator to put the juices into to remove the fat. If not, put them in a large jar and when the fat has risen to the top use the turkey baster to remove the juices at the bottom and transfer them to a small sauce pan.
Heat the juices. While they are heating shake the flour and water in a jar. When the juices are boiling whisk in some of the flour/water mixture adding more until you get the thickness you want. Sprinkle in a little pepper. At this point the gravy may already be very flavorful and not need any salt. It’s best to taste for salt first before you add any and then just add a little at a time.
Gravy 2
Ingredients
- 1/2 cup butter
- 1 1/2 cups onion, cut small
- 1/4 cup flour
- 3 cups juices from turkey (if the juices condense too much while the turkey is cooking, reconstitute with water)
- a pinch of pepper
- salt if needed
Instructions
While the turkey is resting you will be removing juices for the gravy with a turkey baster. It’s helpful to have a
fat separator to put the juices into to remove the fat. If not, put them in a large jar and when the fat has risen to the top use the turkey baster to remove the juices at the bottom.
Melt the butter in a pan and add the onion and cook for 15 minutes. It’s okay if it gets a little brown. Stir in the flour and cook 2 minutes. Add the juices and the brandy and cook 5 minutes. Put through a sieve. Season with a little pepper. The juices may already have enough salt. It’s best to taste it first before adding any and then just add a little at a time.
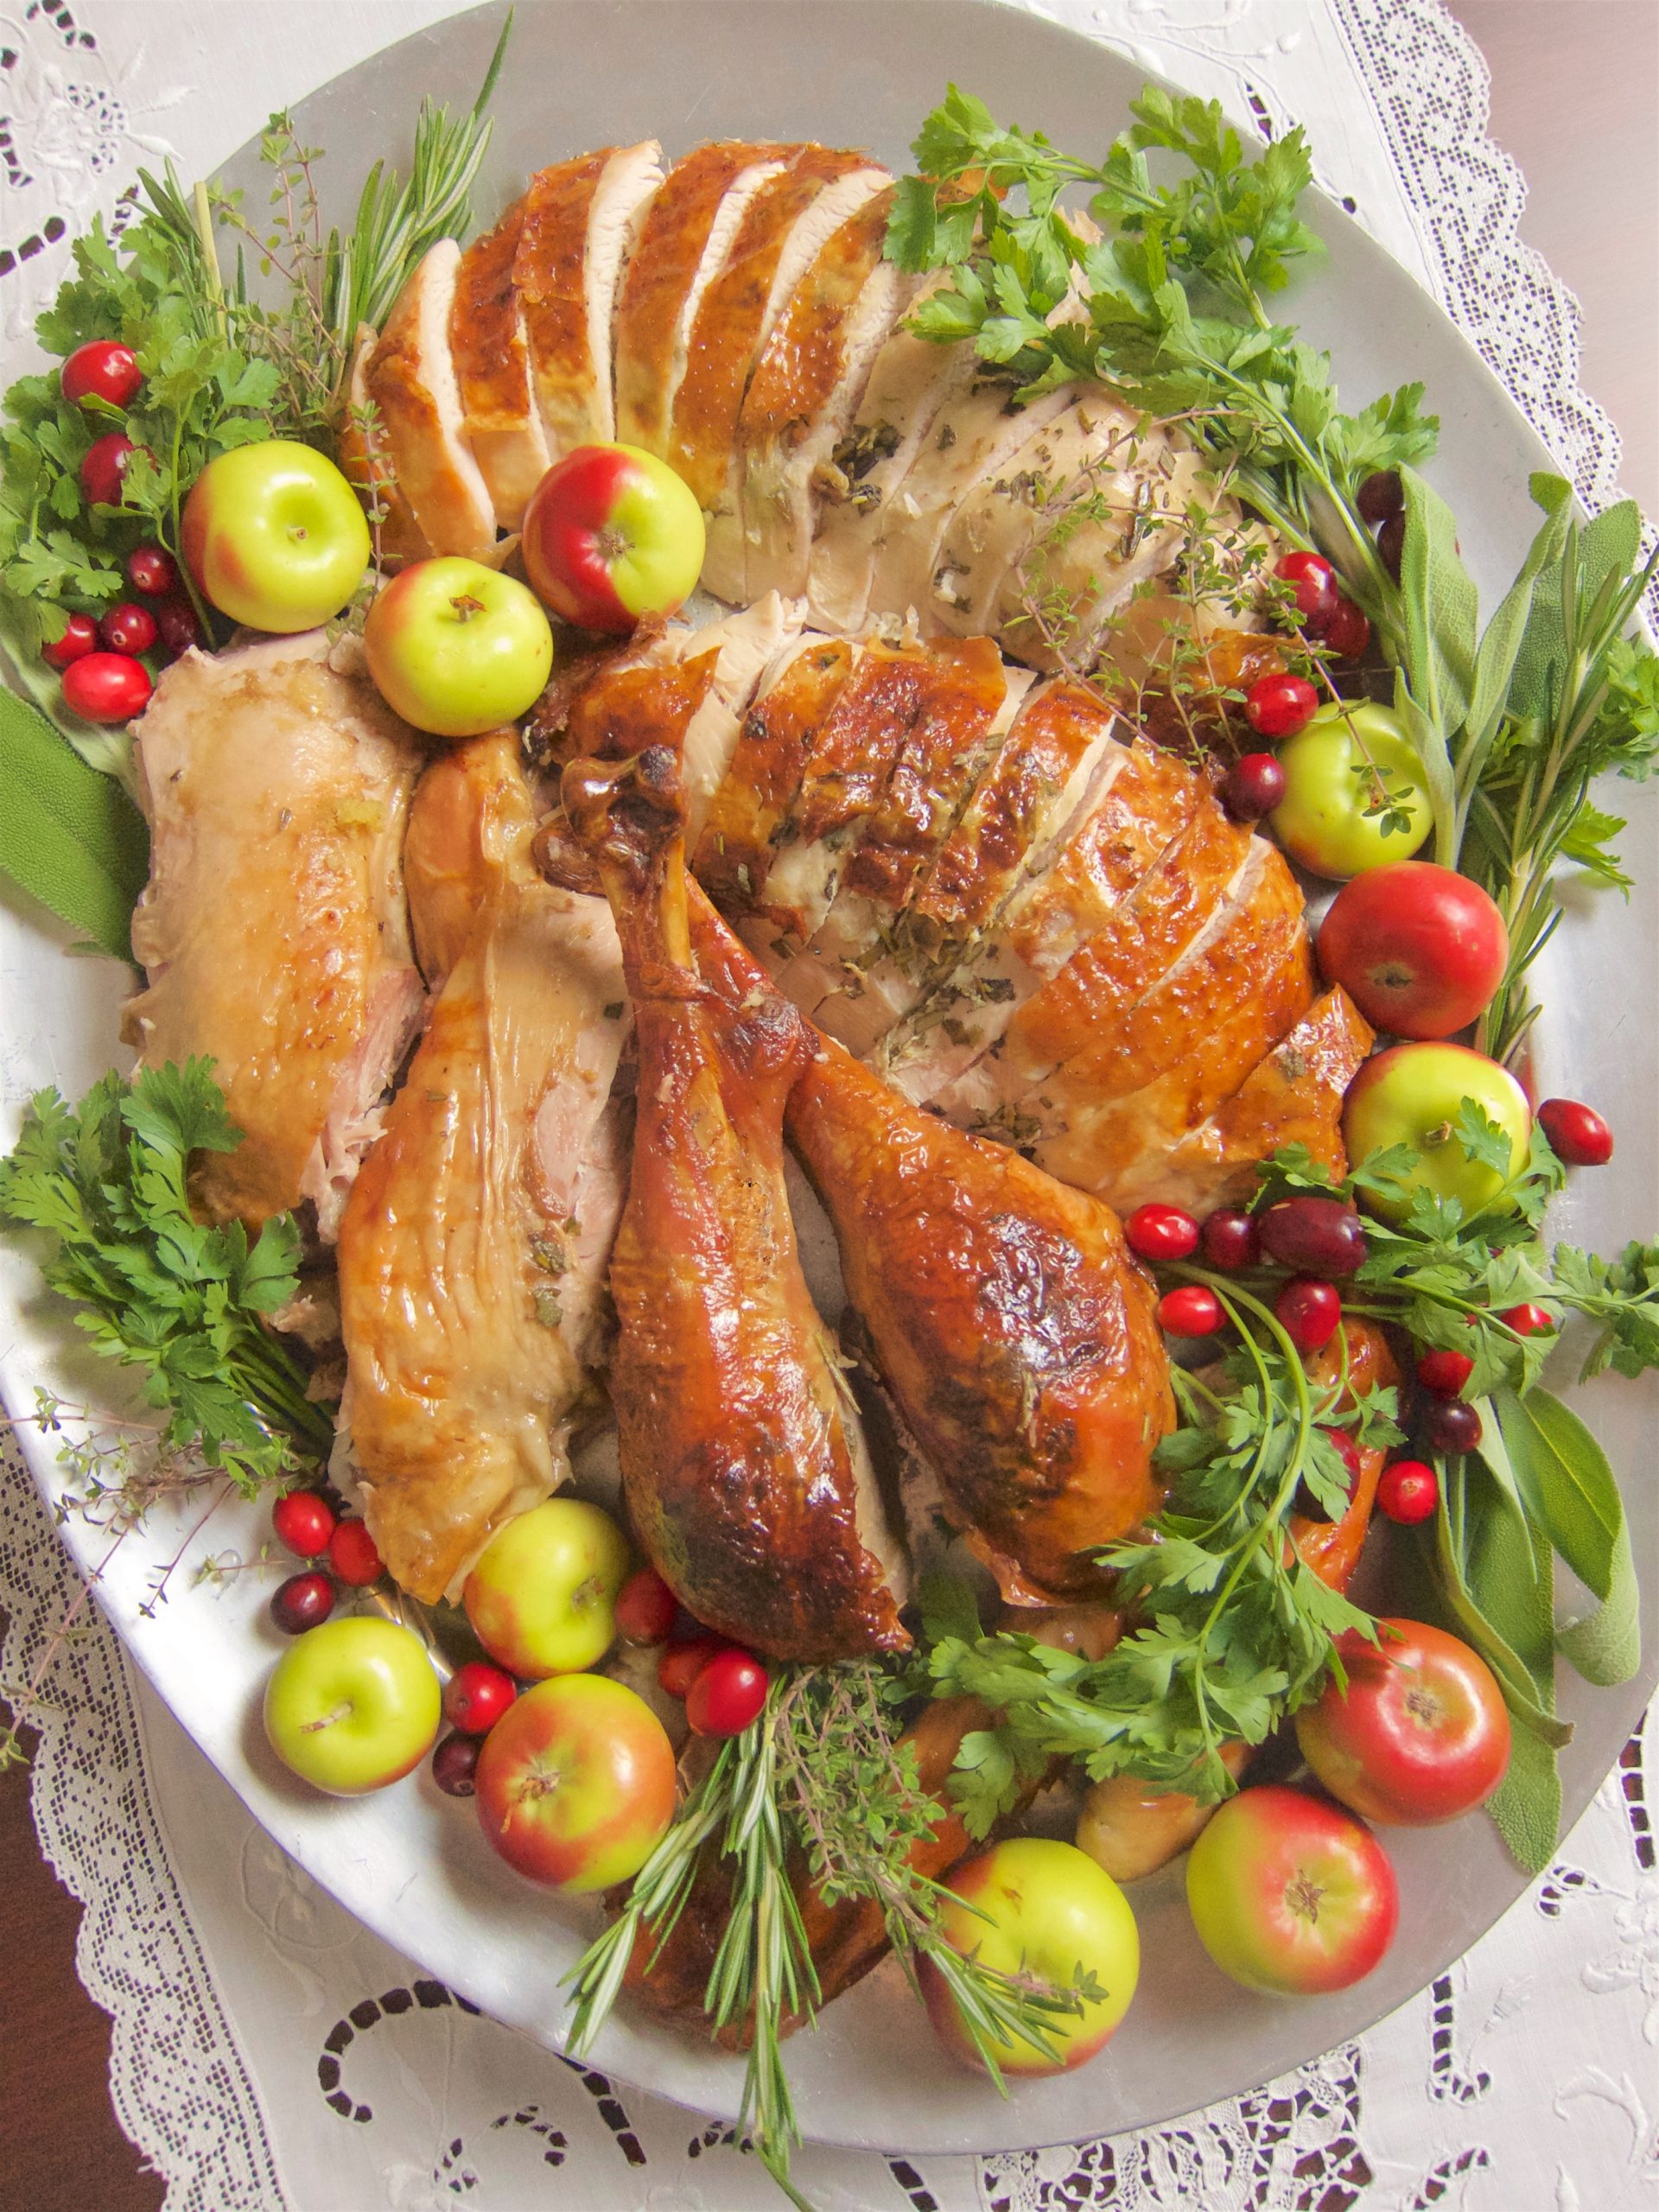
Carving the Turkey
Instructions
Remove the legs and wings at the joints and separate the drumsticks from the thighs at the joints. Make a cut along the side of the breastbone on either side and remove the entire breasts and slice them into 1/2″ slices.
Garnish Ideas for the Turkey Platter
If you want to garnish the turkey, have what you’ve chosen washed and ready in a large baggie the day before.
- fresh herbs like parsley, sage, rosemary and thyme
- dried or fresh bay leaves
- small fruit like grapes, kumquats, mini lady apples, mini pears, and clementines
- citrus like lemons and oranges, cut in slices or wedges
- fresh cranberries
- pomegranates cut in half or fourths
- figs cut in half
- green or pink kale
- chestnuts
- hazelnuts